Introduction
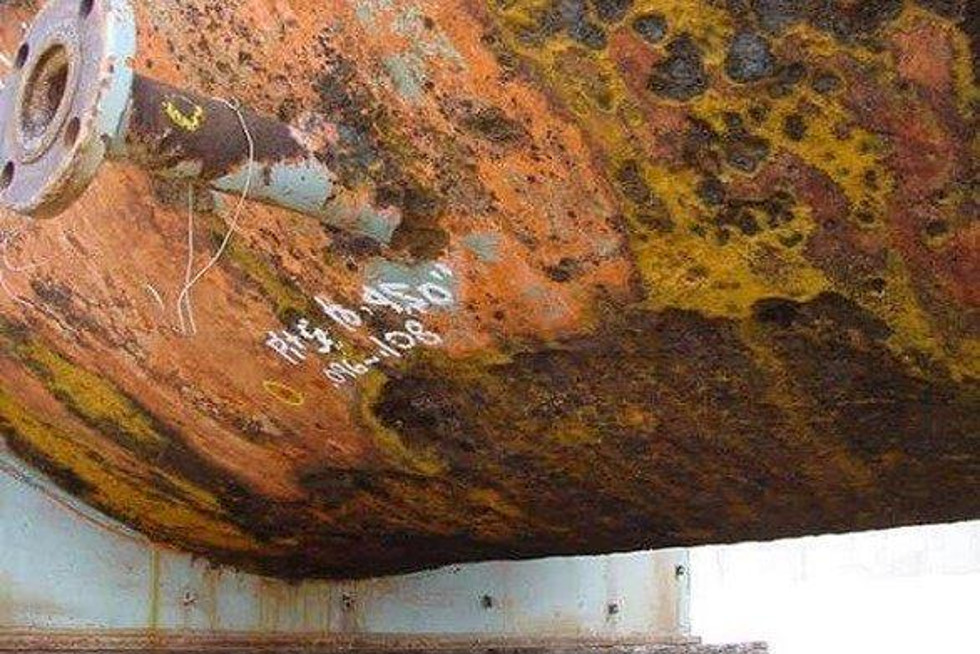
This is an article I’ve been thinking about for a long time. The reason being that in all the local thin area (LTA) assessments I’ve done over the years, I rarely see one that fails the assessment. To be clear, it happens, but just not very often.
I believe that this is the case for two reasons. First, the engineering mechanics of LTAs are very “forgiving.” That is to say, when you perform a rigorous analysis, you find that an LTA has to be pretty severe before it fails to meet the fitness-for-service (FFS) acceptance criteria. Second, I believe that the “qualitative risk assessment” performed routinely by plant personnel is far less forgiving than the rigorous assessment. I’m using “qualitative risk assessment” somewhat tongue-in-cheek to refer to the “gut check” – the point at which plant maintenance and reliability personnel just say “we need to fix that.” It’s the situation where people aren’t discussing getting an FFS analysis; they’re discussing getting a welder. And generally, that’s a good thing – it’s driven by a desire to be safe, not cutting it too close, and an instinct for self-preservation.
On the other hand, there are many circumstances where an LTA is the preferred repair solution. Welds can introduce new flaws and residual stresses. Blend grinding of a crack or gouge might be the best solution. Accepting an area of local corrosion based on an LTA assessment may be preferable to weld overlay. If an LTA assessment is performed and it passes the API 579, Part 5 (Local Thin Area), Fitness-for-Service (API 579) assessment criteria, it may be better to leave it alone.
The problem I’ve noticed is that plants often don’t get to the LTA assessment because it doesn’t pass the gut check. So, my goal for this article is to recalibrate your gut. I want to show you some examples of LTAs that pass. I think you’ll be amazed at how significant an LTA can be and still pass an assessment.
A Few Case Studies
To illustrate the point, I analyzed a number of LTA cases. I performed a series of calculations in which I’ve varied several parameters including ID, thickness, d/T, and the remaining thickness ratio, Rt. For each case, I’m going to look at the effect of the variables on the remaining strength factor (RSF).
Assumptions & Simplifications
For simplicity, I’m neglecting corrosion – I’m just dealing with nominal values. With this simplification, Rt becomes:

Other assumptions include:
- Based on longitudinal flaws in cylinders.
- SA-516, Grade 70 materials at temperatures up to 500°F, where the allowable stress remains 20-ksi.
- Loading is by internal pressure only.
- In all cases I’ve adjusted the pressure so that the hoop stress exactly equals the allowable stress (20-ksi).
- All the LTAs are assumed to be on the ID.
- Uniform LTAs – no blend regions. Wall thickness is either at the nominal thickness or at the LTA thickness.
- “Pass” is taken as remaining strength factor, RSF ≥ 0.9
- The 3 main cases I looked at are:
- ID = 60-inch, t = 1-inch (ID/t = 60)
- ID = 60-inch, t = 3-inch (ID/t = 20)
- ID = 120-inch, t = 1-inch (ID/t = 120)
- I’ve looked at longitudinal flaw lengths, s, from
- s = 36 or 96-inches, depending on the case.
I’ve run all my cases as API 579 Part 5, Level 2, Local Metal Loss assessments.
Effect of Circumferential Extent
In the absence of longitudinal bending (i.e., pressure only loading), a longitudinal LTA is worse than a circumferential LTA of the same length because the higher hoop stress is acting on the longer thin area. For this reason, these cases are based on the longitudinal extent of the LTA. The results are valid for cases where the circumferential extent is no more than twice the longitudinal extent.
Case Study Results
Figures 1, 2, and 3 show the change in RSF for LTAs of different lengths in a cylinder of a given material, OD, and thickness. These figures show:
- Figure 1: RSF for 60″ ID X 1″ Tk Cylinder
- Figure 2: RSF for 60″ ID X 3″ Tk Cylinder
- Figure 3: RSF for 120″ ID X 1″ Tk Cylinder
Notice that each figure includes a series of curves, with each curve representing a particular LTA longitudinal length.
Notice the red dashed line indicating the allowable RSF of RSFa = 0.9. All the points on or above the red dashed line pass an API 579, Part 5, Level 2 assessment. Points below fail the assessment.
The two dominant trends that can be seen from these curves are:
- Longer flaws have lower RSFs, and
- Deeper flaws have lower RSFs


You can see that the RSF is sensitive to the axial length. Referring to any of the figures, you will notice that the RSFs (vertical axis) for the shortest LTA (3”) have the highest RSFs, while the longest LTAs have the lowest RSF. Long LTAs can tolerate significantly less depth than shorter LTAs.
Now, focus on one curve, say the 6” curve (s = 6”) from Figure 1. The shallowest point (right-hand side of plot) shows a very high RSF = 0.98. But moving left, for deeper flaws, the RSF starts to drop off with steepening slope, until it reaches RSF = 0.6 for the deepest flaw.
For Figure 1 and Figure 2 I’ve summarized (see Table 1) the points at which the curves reach RSF = 0.9 – the pass/fail point. These points are labeled in the figures (Pt. “A”, Pt. “B”, etc.). Notice how deep the shorter flaws can be relative to the thickness of the material (e.g., Rt = 0.2 is 80% through-wall).

RSFa = 0.9, ID = 60″.
Thickness & ID Variations
Wall Thickness Variation – Figure 1 and Figure 2 are based on the same ID (60”), but different wall thickness.
- Figure 1, t = 1” vs. Figure 2, t = 3”
Inspection of the figures reveals that at the same nominal ID, the thicker wall results in a higher RSF at equivalent values of Rt. Thus, the thicker wall does not just allow deeper LTAs (because it’s thicker), it allows deeper LTAs as a percent of wall thickness. From Table 1 we see that at Point “C” (12” long LTA) the 1” wall thickness allows an LTA that’s 22% through-wall (Rt = 0.78), while the 3” wall allows an LTA that 35% through wall (Rt = 0.65).
ID Variation – Figure 1 and Figure 3 have the same thickness (1”), but different ID.
- Figure 1, ID = 60” vs. Figure 3, ID = 120”
Inspection reveals that at the same nominal wall thickness, the larger ID results in higher RSF at equivalent values of Rt (Remember – nominal hoop stress is constant in all cases).
A Sense of Scale
The last thing I’d like to illustrate is the scale of this maximum acceptable wall loss (from Table 1) on scaled drawings. I’m going to show a series of cross-sections through the longitudinal LTA. Figure 4 shows how the cross-sections are derived.

Let’s look at the maximum acceptable LTAs for the 60” ID X 3” wall thickness case. Figure 5 presents a series of scale drawings for the various points “A” through “F” identified in Figure 1, Figure 2, and Table 1.

The important effect of LTA length is clear from the progression shown in Figure 5, but also look at the proportion of acceptable wall loss, especially at points “A”, “B”, and “C” – with 35% to 80% acceptable wall loss, depending on LTA length.
Knowledge of the “forgiving nature” of LTAs may lead to heavier reliance of this assessment method with cheaper, easier, and most importantly, safer operation.
Reminder!
If you’re going to do an LTA assessment, refer directly to API 579 Part 5. The plots presented herein are for the purpose of showing trends and approximate LTA sizes. These curves are based on many assumptions that may not apply to the case you’re analyzing. Don’t use the curves in this article as the basis for your LTA assessment.
If there are any topics you’d like to see in the FFS Forum, or if you have comments in this article, leave a note in the “Comments” section below or send me an email at FFS@inspectioneering.com.
Original Post by: Greg Garic